- GitHub Links
Debugging BioDrop with VS Code
This documentation explains how you can debug your BioDrop frontend and backend code using the Visual Studio Code (VS Code) debugger.
NOTE: This debugging setup is for a local development environment and will not work if you are running BioDrop using Docker Compose in your local setup. Additionally, it requires MongoDB to be available and running.
Environment setup for debugging in VS Code
- If you don’t already have a
launch.jsonfile, create one in the.vscodedirectory at the root of the BioDrop project. - Add the given JSON to the
.vscode/launch.jsonfile.
{
  "version": "0.2.0",
  "configurations": [
    {
      "name": "Next.js: debug server-side",
      "type": "node-terminal",
      "request": "launch",
      "command": "npm run dev"
    },
    {
      "name": "Next.js: debug client-side",
      "type": "chrome",
      "request": "launch",
      "url": "http://localhost:3000"
    },
    {
      "name": "Next.js: debug full stack",
      "type": "node-terminal",
      "request": "launch",
      "command": "npm run dev",
      "serverReadyAction": {
        "pattern": "started server on .+, url: (https?://.+)",
        "uriFormat": "%s",
        "action": "debugWithChrome"
      }
    }
  ]
}- Your environment is now ready for debugging.
If you want to learn more about debugging in Next.js, you can refer to the official documentation.
Steps to debug
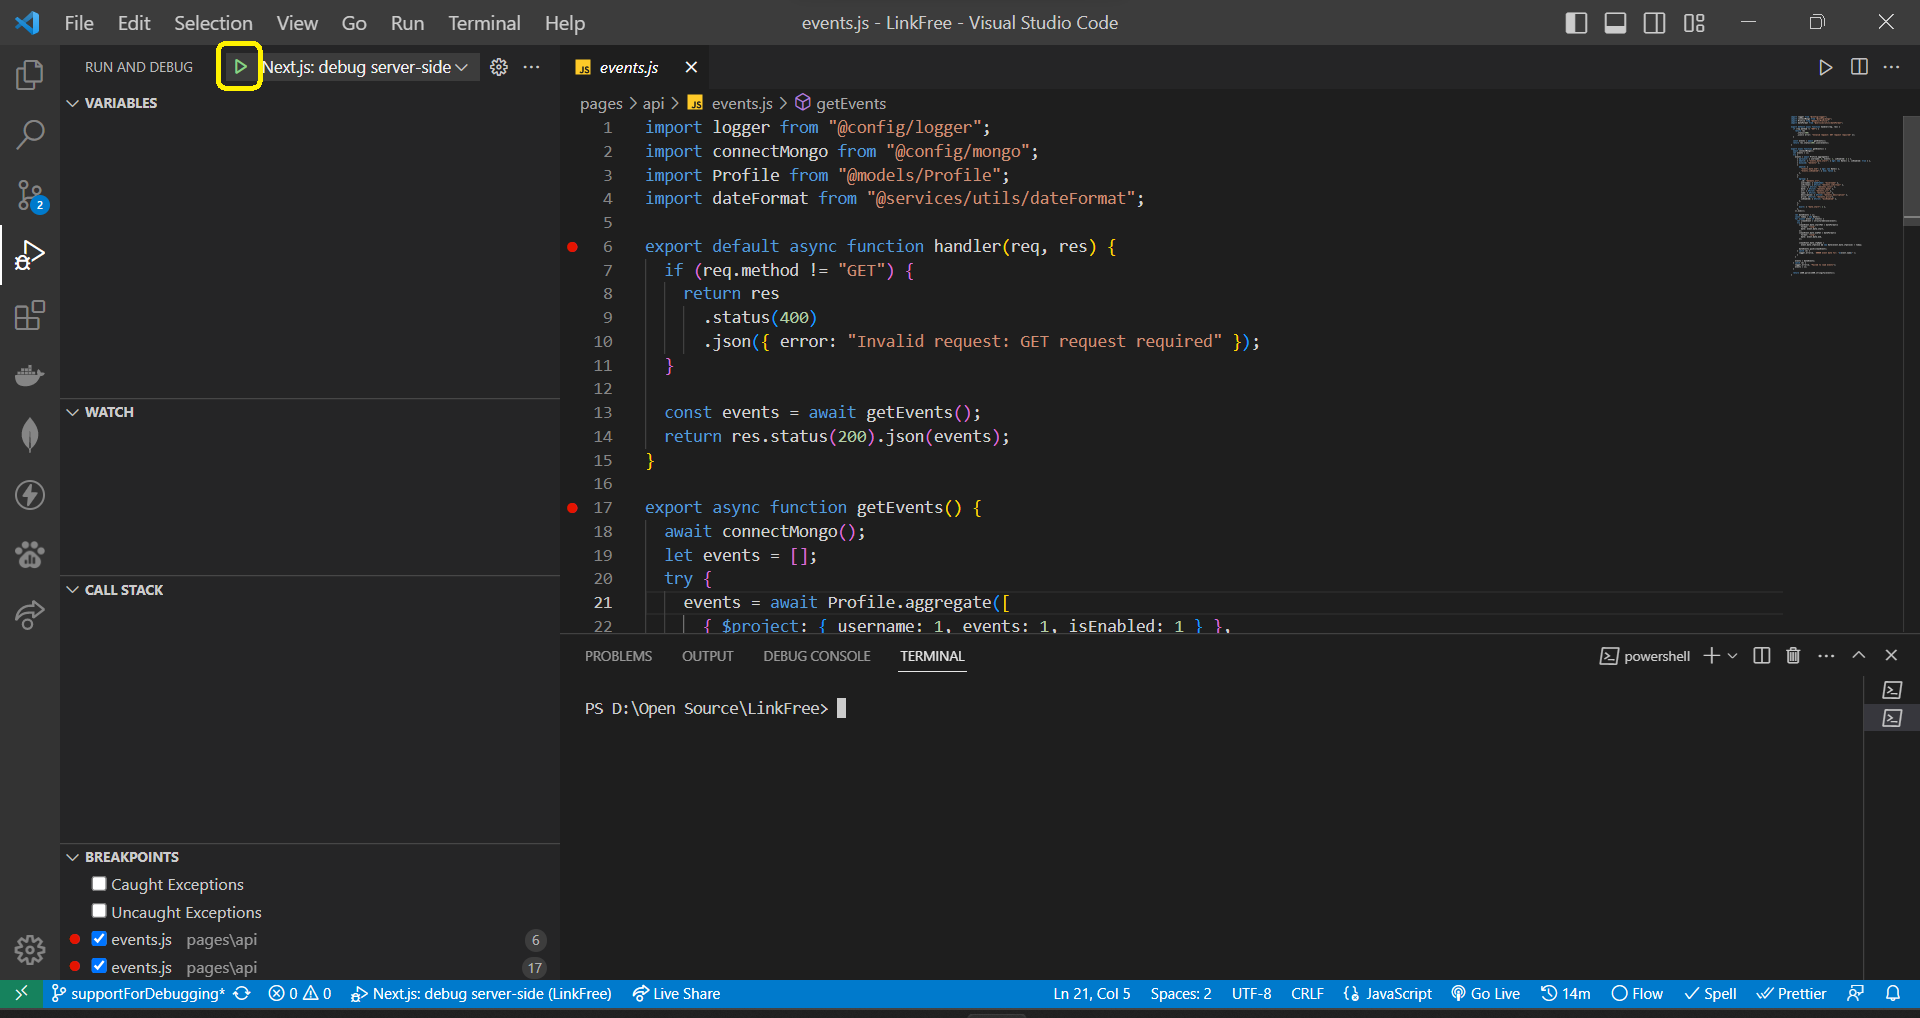
- Set a breakpoint: To begin the debugging process, set a breakpoint at the desired location in the code.

- Identify breakpoints: Observe the breakpoints you've set in the breakpoints section.

- Debugging profiles: Choose the appropriate debugging profile based on your use case. We have configured three profiles: Server Side, Client Side, and Full Stack. Select the profile that aligns with your debugging needs.

- Start your application: Click on the highlighted button to start a debugging session with the profile you've selected.
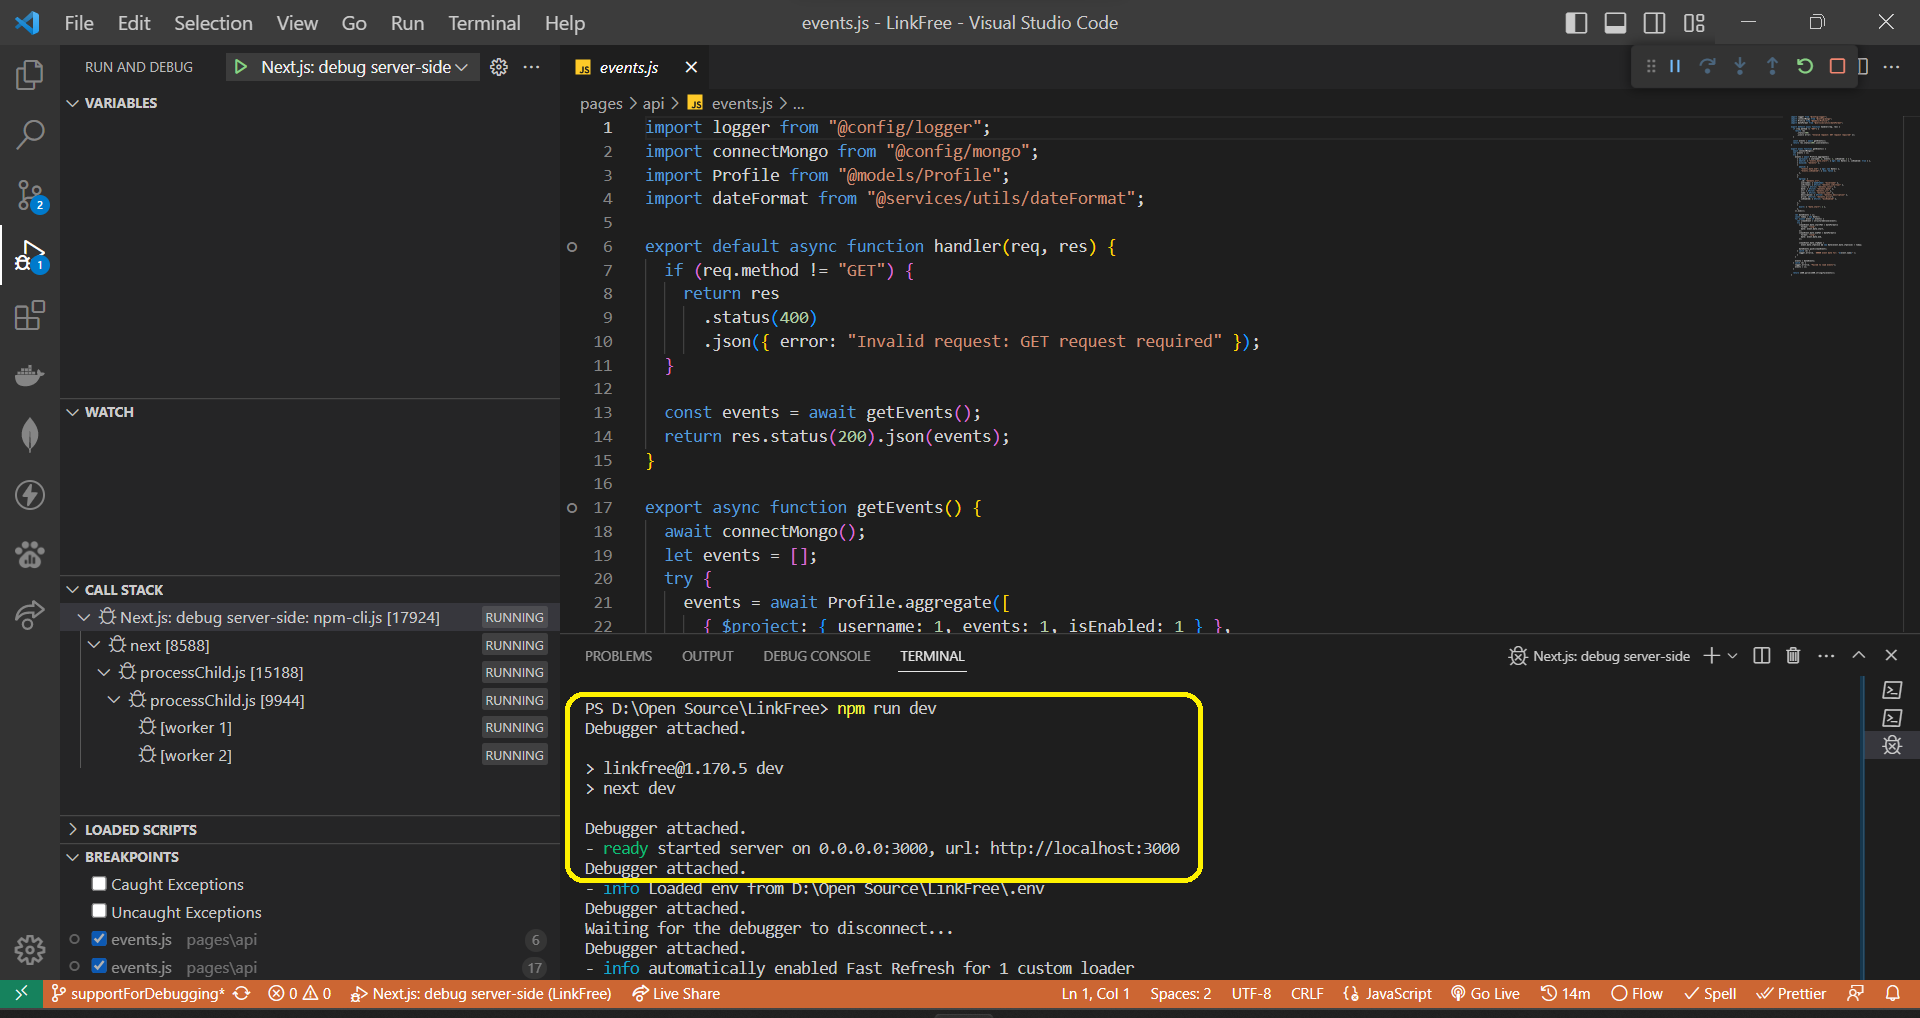
- Check terminal: Check the terminal to ensure that your VS Code IDE is successfully connected to the debugging port.
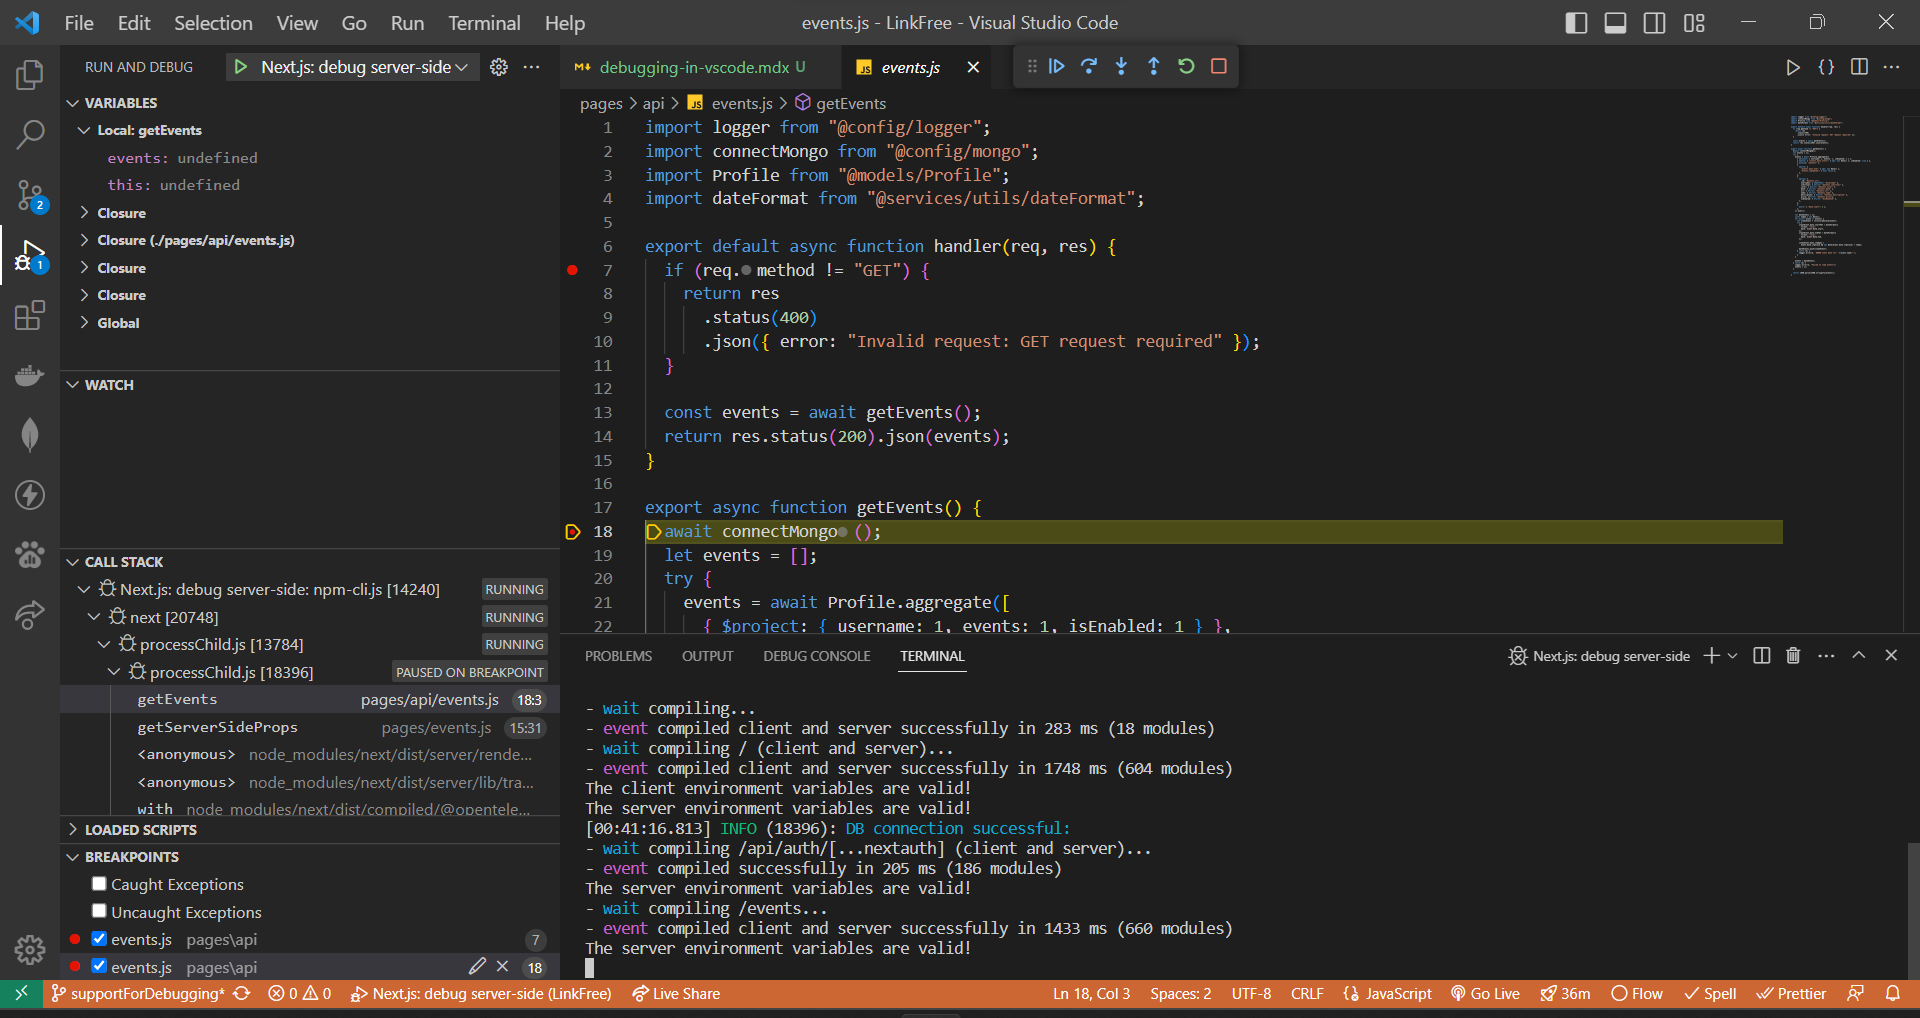
- Begin debugging: Once the application is up and running, navigate to the desired flow that requires debugging. You will notice that the debug pointer stops at the first breakpoint. Now, you are ready to proceed with debugging.
If your debugger not working as expected, we recommend referring to debugging in Next.js for extra information. You might need to make some adjustments to your configuration. Don't worry, with a bit of tweaking, it should work smoothly.
If you are new to debugging in VS Code, we suggest referring to the documentation for debugging in VS Code. You will find valuable resources to assist you.
;